Learning how to make a monofilament wig gives a clearer look at the craftsmanship behind this natural-looking cap construction. This guide explains the full making process, from preparing the wig cap to hand-tying hair and completing the final quality check.
What makes a monofilament wig different?
A monofilament wig differs from other wigs as a strand of the cap has a very fine mesh fabric that mimics the look of a person’s scalp. Generally, hair strands are hand-tied into this mesh, creating a natural appearance of hair growing out from the scalp; therefore, energy from the scalp can be naturally absorbed by the hair.
A monofilament wig can be set up with either a small or large piece of monofilament. Additionally, more flexible styling options typically consist of having a full top monofilament wig; however, all types of wigs with monofilament sections are considered to be “monofilament wigs”.
The purpose of this article is to provide information about how to construct a monofilament wig rather than what a monofilament wig is. Creating a monofilament wig involves designing an accurate wig cap, handling materials carefully, and using skilled ventilation techniques, as well as skillfully finishing the wig.

Main materials used to make a monofilament wig
Before making a monofilament wig, the right materials must be prepared. Each material affects the wig’s structure, comfort, and final appearance.
Monofilament mesh
Monofilament mesh is the key material used in this cap construction. It is usually thin, sheer, and soft enough to sit comfortably against the scalp.
The mesh must be strong enough to hold on to the hand-ventilated hair knots. If the material is not strong enough, there is a chance that the knot will become undone when the fiber is attached to the mesh or when the wig is worn. If the mesh is too rigid or hard, the wig will be uncomfortable when being worn.
Wig cap foundation
The wig cap foundation gives the wig its shape and support. It may include stretch panels, wefted sections, lace front, ear tabs, nape area, and adjustable straps.
The cap foundation must be stable but not bulky. A clean foundation helps the monofilament section sit flat and blend better with the rest of the wig.
Hair material
For monofilament non-lace wigs that require a fresh-hair material, human hair is used to achieve natural movement, softness, and styling options of a premium-quality wig. The hair material must be appropriately prepared: clean, aligned, or sorted (per coloration), etc., will play an important role in the overall quality of your final product.
For human hair wigs, keeping the hair direction consistent is important. This helps reduce tangling and supports a smoother finish after the wig is completed.
Wig-making tools
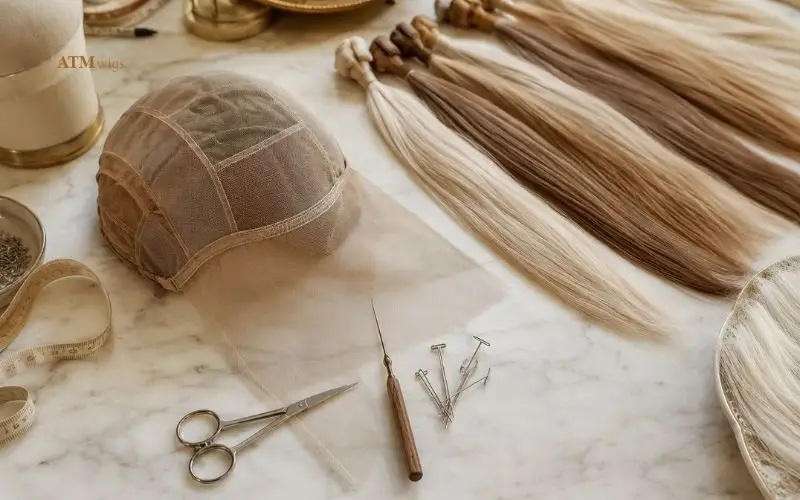
Common tools and equipment are used throughout the process of wig-making and trying on: Wig block, T-Pins, Ventilating needle, drawing mat, hackle, scissors, needles, thread, measuring tape, etc. With these tools in hand, securing the cap and providing guidance for hair orientation are easier for the technical issues involved with the hours of manual knotting through ventilation.
Step 1: Create the wig cap design
The first step in making a monofilament wig is designing the cap. This determines where the monofilament section will sit and how the wig will fit.
Decide the monofilament area
The monofilament area may be designed as a part, crown, top, or larger hand-tied section. The choice depends on the desired construction and styling flexibility.
A monofilament part is usually used for one fixed parting area. A monofilament top allows more freedom to part the hair in different directions.
Take accurate measurements
Accurate measurements are essential before creating the cap. Key measurements include head circumference, front to nape, ear to ear, temple to temple, and nape width.
These measurements help ensure that your wig fits well and is comfortable for you to wear. A monofilament wig will not be able to provide the proper fit if the size of the cap is incorrect.
Build or select the cap pattern
After measuring your head, it is time to create (or choose) the cap pattern. The cap pattern is used to show where the monofilament mesh will be placed, where the lace will be sewn onto the mesh, and where the wefts, stretch materials and support areas will be attached.
The parting and crown position must be planned carefully. This is because the monofilament area is one of the most visible parts of the wig.
Step 2: Prepare the monofilament base
After designing your wig cap, it is time to prepare the monofilament material and sewn it onto your wig cap.
Cut the monofilament mesh
The mesh is cut according to the cap pattern. The edges should be smooth and even so they do not create discomfort or tension.
Because monofilament material is delicate, it must be handled carefully. Pulling or stretching the mesh too much can affect the final cap shape.
Attach the mesh to the cap
The monofilament section is sewn into the cap foundation. The stitching must be secure but flat, especially around the top and parting area.
Bulky stitching can make the wig look raised at the top. A clean attachment helps the cap sit closer to the head.
Reinforce key construction points
The areas surrounding the parting, crown and front edge, frequently require careful reinforcement to maintain stability for both ventilation and wear and tear.
If the wig includes a lace front, the connection between the lace and monofilament section should be smooth. This helps the front hairline and parting area work together naturally.
Step 3: Prepare the hair before ventilation
Hair preparation is critical prior to the start of hand-ties, as poorly prepared hair will hinder the finished look of the wig, including its texture and movement.
Sort the hair by length
The hair is sorted by length so the finished wig has a balanced shape. Shorter hair may be used around certain areas, while longer hair is placed according to the final style.
This makes the later cutting and styling process more controlled. It also helps prevent uneven weight distribution.
Align the hair direction
For human hair, it is recommended to align the cuticle in the same direction whenever possible. Proper hair alignment will support a smoother feel and reduce tangling.
If the cuticle is mixed in various directions, it is possible that your wig will become difficult to manage after washing or styling.
Prepare density placement
Before ventilation, the maker decides how dense each section should be. The parting area usually needs a lighter density than the sides or back.
This planning stage matters because density affects how the monofilament base looks once the wig is finished.
Step 4: Ventilate hair into the monofilament section
Ventilation is the most important step in making a monofilament wig. This is where individual hair strands are hand-tied into the mesh.
What ventilation means
Ventilation is the technique of using a small needle to pull hair through the wig base and secure it with knots. On a monofilament wig, this creates the appearance of hair growing from the scalp.
This step requires patience and precision. The maker must control the amount of hair, knot tension, spacing, and hair direction.
Tie hair strand by strand
A small number of strands are picked up with the ventilating needle. They are pulled through the monofilament mesh and tied into place.
This process is repeated across the monofilament area until the section is complete. Depending on the size of the area, this can take a long time.
Control knot size and spacing
Knot size affects both appearance and durability. The knots should be secure, but not too large or visible.
Spacing also matters. If the knots are too close together, the top may look too dense. If they are too far apart, the wig may look thin or unfinished.
Follow natural hair direction
Hair direction must be planned carefully around the parting and crown. The strands should be tied in a direction that follows natural growth patterns.
This is one of the reasons professional monofilament wigs look more realistic. The hair does not simply sit on the cap; it is placed to move naturally.
Step 5: Complete the surrounding cap sections
After the monofilament section is ventilated, the rest of the wig cap is completed.
Add wefted sections
Many monofilament wigs use wefted sections on the back and sides. Wefts help create volume and structure while keeping the cap breathable.
Wefts must be installed in successive groups across the back and sides so as to prevent any potential elevations or uneven weight when completed. An equal number of wefts across the cap shape will also assist in creating balance to the completed wig shape.
Add lace front if included
Some monofilament wigs include a lace front for a more realistic hairline. In this case, the front section is constructed and ventilated separately.
The lace front and monofilament top must connect smoothly. A rough transition can make the wig look less refined.
Attach cap support features
The method of attaching cap support can include adjustable straps, clips, combs, silicone bands, and stretchy materials. All of these components will assist with maintaining proper fit and security of the wig once worn.
It is critical to attach the wig support components in such a manner that they will not create undue discomfort while also not affecting the overall shape and appeal of the cap.
Step 6: Refine the parting, crown, and hairline
Once the wig has been constructed, the visible portion of the wig will be finished. Finishing the visible sections of the wig is an important step in being able to complete a professional looking finished product.
Refine the parting area
The part area should be symmetrical, space between the wefts should not show excessive scalp underneath, and the monofilament base should create a scalp-like appearance while providing the least amount of visible scalp.
If the parting is too dense, the scalp effect may be hidden. If it is too thin, the wig may look unfinished.
Balance the crown
The crown area should have natural direction and controlled volume. It should not look flat, stiff, or overly bulky.
Adjusting the crown is critical since it’s seen from several perspectives.
Soften the front transition
If the wig has a lace front or front monofilament area, the transition should be soft. A harsh front section can make the wig look artificial.
The density of the hairline should also be less so that there is enough room for the knots to be placed more delicately on the hairline.
Step 7: Cut and shape the wig
After constructing the cap, cut the wig according to style. This step gives the wig its final silhouette.
Create the basic shape
The hair is trimmed to the correct length and overall style. This may include a bob, layered cut, long style, fringe, or face-framing shape.
The cut must work with the cap construction. For example, the layers should not expose wefts or make the top look uneven.
Blend the hair movement
The maker checks how the hair falls from the monofilament area into the rest of the wig. The transition should feel smooth and natural.
Blending is especially important in human hair wigs because the movement is more visible than in many synthetic styles.
Style the finished look
The wig may be blow-dried, straightened, curled, or softly shaped depending on the final design. For human hair, heat styling should be controlled and supported with proper protection.
The styling stage should enhance the construction, not hide construction problems.
Step 8: Final quality check
The professional quality inspection of a monofilament wig should ensure that it is both ready for hair application and for sale to a consumer.
Check the cap fit
First, the cap must fit properly and fit smoothly on the head. Neither too loose or tight, the cap should lay evenly on the head.
Next, the top of the cap should lie flat without any decorative or stitching bumps, or overlapping material.
Check knot security
The knots in the monofilament section should be secure and consistent. Weak knots may lead to excessive shedding.
The manufacturer determines whether or not the hair is secure, yet is able to move naturally.
Check density balance
The density of each wig should be balanced from front-to-back, and side-to-side. The crown should have a realistic amount at the part, and the sides and back should be thick enough to hide scalp when viewed from all angles (front, rear, or side).
Check the final appearance
The wig is reviewed from the front, side, top, and back. The hairline, parting, crown, and overall shape should work together.
A complete monofilament wig should look clean, comfortable, and professionally finished.
Can you make a monofilament wig at home?
While you technically can make your own monofilament wig at home, the process is not easy. There is a lot of detail work that goes into constructing a complete monofilament wig – the cap, hair ventilation, and material control – and it requires a lot of patience.
For beginners, it is better to start by practicing ventilation on a small lace or monofilament sample. This helps build control before working on a full cap.
A complete monofilament wig can take many hours or even days, depending on the construction, hair density, and skill level. For a polished result, professional craftsmanship is usually recommended.

Common mistakes when making a monofilament wig
One common mistake is using mesh that is too stiff or too weak. Poor monofilament material can affect comfort, durability, and the final scalp effect.
Parting areas need to have enough space and visibility for you to achieve a “visible scalp” at the parting/wig parting. Parting areas that are too small or too dense also provide a bad scalp look when finished.
Improper hair direction at each hair tie. This occurs when the hair is tied in a way that does not follow the natural growth patterns of the hair. This is one of the many reasons why wigs appear to have no movement or are not properly constructed.
Poor quality of the stitching on the base of the cap. Poor craftsmanship may create a bulky or uneven cap that causes the cap to not sit flat on the head due to improper stitching methods.
Finally, skipping the quality check can lead to problems with fit, shedding, density, or shape. A good monofilament wig depends on both construction and finishing.
Why professional monofilament wig making requires skill
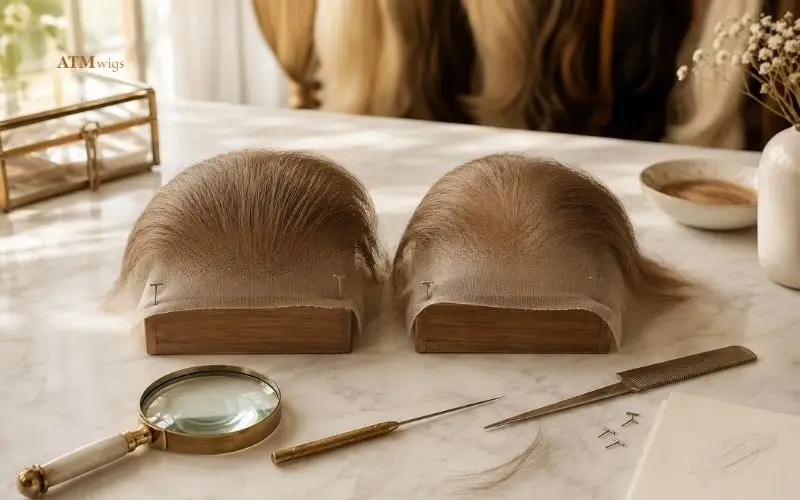
Making a monofilament wig requires a high level of proficiency; it is not simply sewing together strands of hair to create wigs. It also includes an understanding of how to make an effective cap, the behavior of the hair and how to knot it properly, along with placing the correct density of hair in different areas.
Small details can change the final result. The direction of each knot, the tension of the mesh, and the density around the parting all affect how natural the wig looks.
This is why professional monofilament wigs often take more time to produce than basic machine-made wigs. The final quality depends on careful work at every stage.
FAQs about how to make a monofilament wig
What is the hardest part of making a monofilament wig?
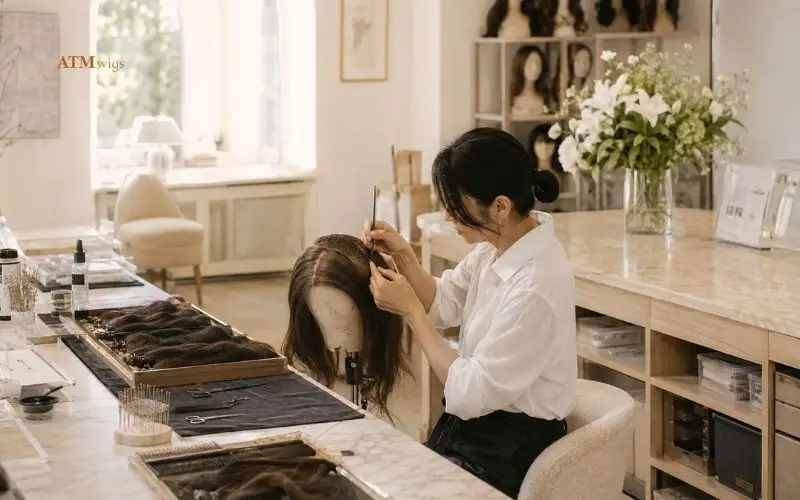
The hardest part is usually the ventilation process. Each individual strand of hair must be vented (tied) into the monofilament mesh using appropriate spacing, placement, direction and tension.
What material is used for the monofilament section?
The monofilament portion of the wig is created with a fine mesh material. It is designed to create a scalp-like effect when hair is hand-tied into it.
How is hair attached to a monofilament wig?
Hair is attached through hand ventilation. A ventilating needle is used to pull small groups of hair through the mesh and tie them securely into the base.
Can a beginner make a monofilament wig?
A beginner can learn the basics, but making a complete monofilament wig is challenging. Practicing on a small sample first is usually more realistic.
How long does it take to make a monofilament wig?
The time depends on the size of the monofilament area, density, hair length, and cap design. A larger hand-tied area usually takes much longer than a small monofilament part.
Can you make a monofilament wig with human hair?
Yes, you can; in fact, human hair is generally the material of choice for the higher end (quality) of monofilament wigs since it gives lifelike movement in the hair and allows for more versatility in creating different styles along with providing a realistic finish.
Does every monofilament wig need a lace front?
No. A monofilament wig does not always need a lace front. However, some designs combine monofilament top construction with a lace front for a more natural hairline.
Why does ventilation matter in monofilament wig making?
Ventilation of hair in wigs affects the way the hair hangs, moves and looks to the base of the wig; therefore, good quality ventilation of the hair in a monofilament wig will improve the overall appearance of the wig by helping prevent the top of the wig from having a dense or unnatural appearance.
Understanding how to make a monofilament wig shows the detailed cap construction, hand ventilation, and finishing work behind this realistic wig type. To explore professionally crafted human hair options, visit ATM Wigs’ services or catalog.