How are hand tied wigs made? This tutorial covers the skills required in hat preparation, hair sorting, ventilation, knot control, finishing and final quality inspection.
What does hand tied wig mean?
Hand tied means that the hair is hand sewn on to the wig cap. The skilled wig makers tie individual strands or very small bunches of hair into a soft cap foundation, not machine-sewn weft rows.
This process is also known as hand knotting or hand ventilation. It gives a controlled density, soft movement and a more realistic scalp-like effect.
Some wigs include hand ties in key areas such as the lace front, crown or monofilament parting area, while others have hand ties all over the cap.
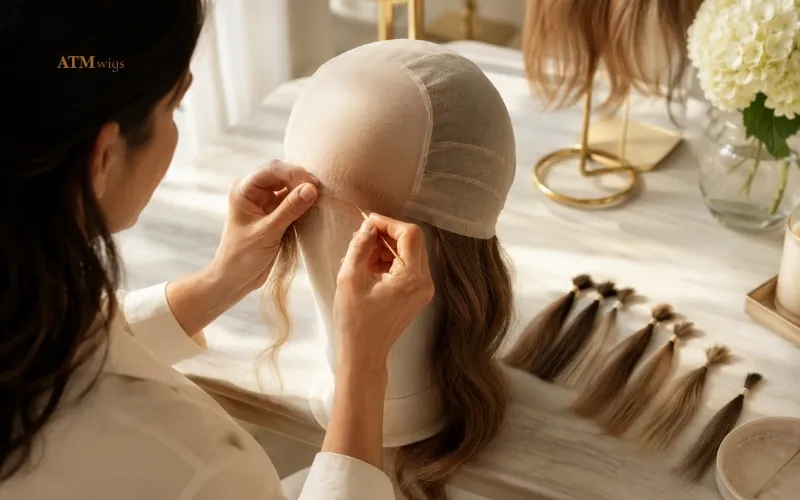
Before production: designing the wig design
Before knotting begins, the wig design must be planned carefully. The Production Team will determine the size of the cap, the style of the hair, the length of the hair, the density, the design of the parting, the contour of the hairline and the direction the hair is supposed to grow.
Planning varies depending on the product. A long layered wig, short bob, topper and toupee all require distinct density placement, cap structure and hair flow.
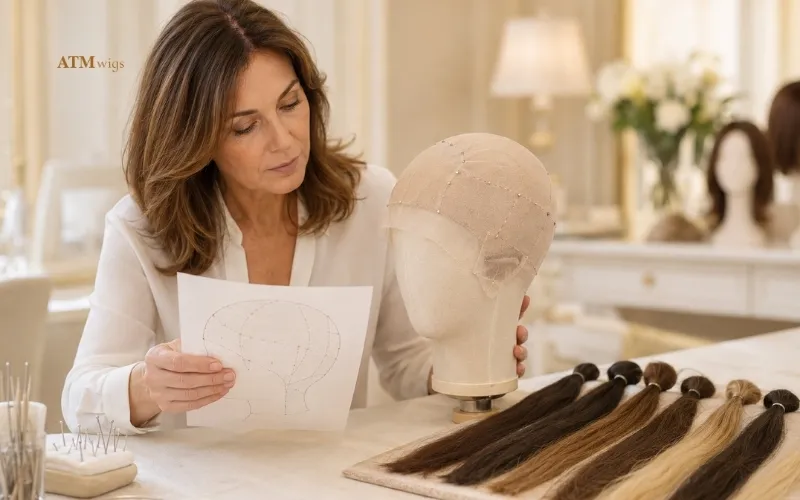
A ventilation map guides the procedure. It displays where the hair needs to be lighter, denser, flatter, raised, forward-facing, or backward-flowing. This map lets the wig maker control the final product before the first knot is tied.
A detailed ventilation map will also help keep uniformity in a professional production, between varied colours, lengths and cap sizes.

Step 1: Making the base of the wig cap
The foundation of a hand tied wig is the cap base. It impacts on fit, comfort, ventilation, hair movement and the natural look of the scalp area.
The cap is shaped and made according to the appropriate size and construction before ventilation. It needs to be strong enough to take thousands of knots but soft enough to be comfortable to wear.
Different hat materials have different functions. Lace is a popular choice for the front hairline as it provides a smooth natural looking edge.
Monofilament can be placed on the top or parting area to give a scalp effect. Mesh and stretch materials help breathable and fit fabrics. PU regions can be added for grip, support with tape or glue. A good cap finds the right balance between realism, comfort and security.

Step 2: Selecting and sorting the hair
Hair selection plays a major role in the final quality of a hand tied wig. Before venting into the cap, the hair must be examined for length, strength, texture, smoothness, color and consistency.
The softness, movement and styling versatility of human hair is unmatched and has made it a popular choice for quality hand tied wigs. The quality of the hair determines the way the wig feels, falls and wears over time.
Cuticle orientation matters in quality human hair wigs. Hair tends to feel smoother and is less likely to tangle when the cuticles are all pointing in the same direction, especially if it’s long.
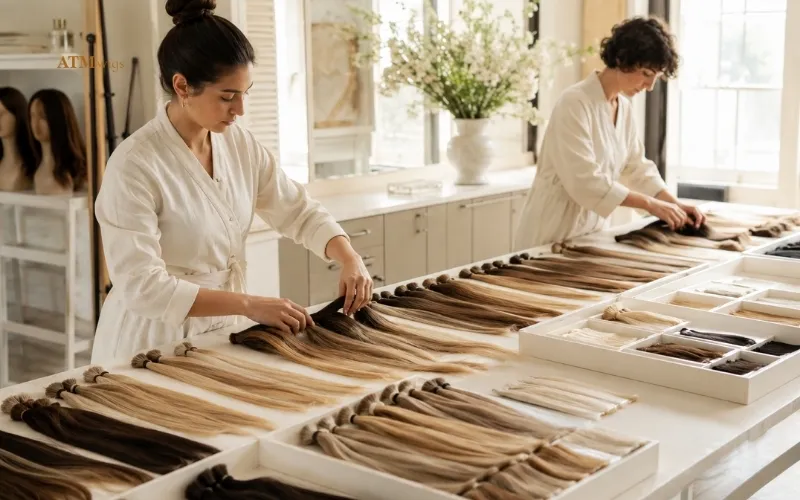
The hair is sorted by length, colour and texture before the knotting begins. To create a softer transition, shorter, finer strands might be used at the front hairline and longer strands could be inserted through the crown, sides and back.
Colour sorting is also very significant. Natural-looking shades often include subtle tonal variation, such as root depth, lowlights, or soft highlights.
Step 3: Mapping density and hair direction
After the cap and hair are ready, the wig maker takes the ventilation map and finds out the density and direction of the hair.
A realistic hand knotted wig should not be the same density all over. Generally, the lightest density is needed for the hairline since a thick front border can make the wig look heavy or fake.
The parting area should have enough hair to cover yet enough space to give the scalp look. The crown should have the right density so that it does not look too thin and too hefty.
Density is not everything. If the hair is tied in the wrong way, the resulting wig can seem flat, stiff or hard to manage.
The front hair can be pulled back to softly move away from the face. The crown direction must support volume and natural flow. The hair should fall in a smooth line at the sides with no unsightly gaps.
Step 4: Ventilating the hair by hand
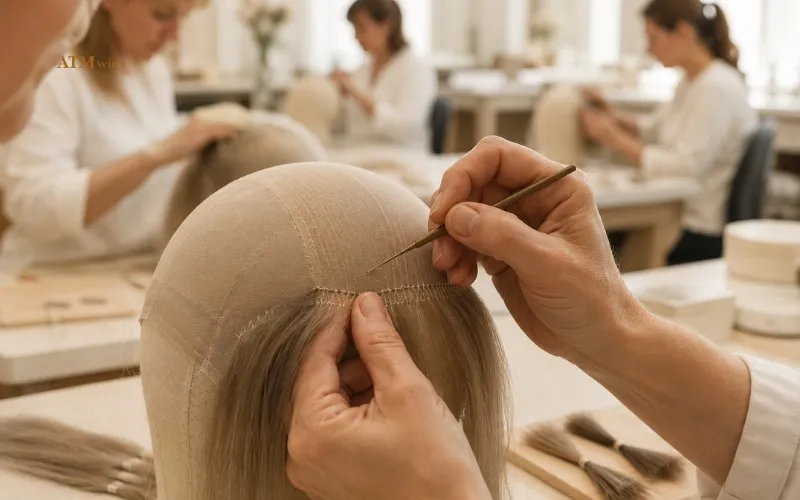
Ventilation is the core process behind how hand tied wigs are made. Then the wig maker uses a little ventilation needle to pull hair through the cap base and tie it off in tiny knots.
This process is repeated thousands of times over the cap. Each knot must be placed with the right spacing, angle, direction, and tension.
The ventilating needle catches a tiny section of hair and pulls it through lace, mesh, or monofilament. The wig maker may select one hair or a few hairs at a time, depending on the area of the cap.
The number of hairs used in each knot changes by zone. At the front hairline, wig makers often use one hair or very small groups to create a soft, gradual edge. In the parting area, small knots and controlled spacing help create a realistic scalp effect.
Greater knotting strength may be employed in the back and nape areas, for durability. These areas face more friction from the neck, shoulders, and clothing.
Single knots are smaller and more delicate, thus are commonly employed in show areas. Double knots are stronger and may be used in less visible areas where durability matters more.
Knot tension is important too. Loose knots can contribute to hair shedding, while tight or uneven knots can make the cap feel harsh or prevent the hair from falling out normally.
Step 5: Crafting the hairline and parting area
The hairline is one of the hardest areas to get right. It shouldn’t be too straight, or too thick, or too consistent.
A natural-looking hand tied hairline is generally achieved by using a lighter density, smaller knots, careful grouping of strands and regulated spacing. This gives a gentler transition and looks more like natural hair growth.
In lace front hand tied wigs, knots must be put carefully so the lace will merge with the skin.This allows the wearer to style the hair away from the face more naturally.
The parting area also requires precision. In monofilament or lace sections, the hair is tied so the base can imitate the look of a scalp. If the knots are too close together, the part may look too dense. If they are too far apart, the area may look thin.
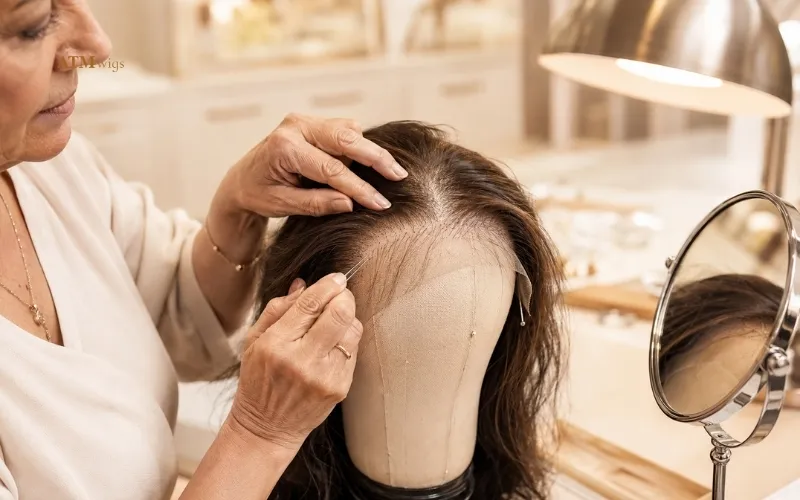
Step 6: Crafting different areas of the wig
A hand tied wig is not made with the same technique across the entire cap. Each zone requires different density, direction, strand grouping, and durability.
The crown area needs balanced density and natural direction. If the crown is too flat, the wig may lack volume. If it is too dense, it may look bulky from the top.
The sides and temples need soft blending because they frame the face. Poor knotting in these areas can make the wig look disconnected from the wearer’s face shape.
The nape area needs stronger knot security because it faces more friction from the neck, clothing, and shoulders. Here, the wig manufacturer may employ more robust knotting yet keep the hair flow smooth.
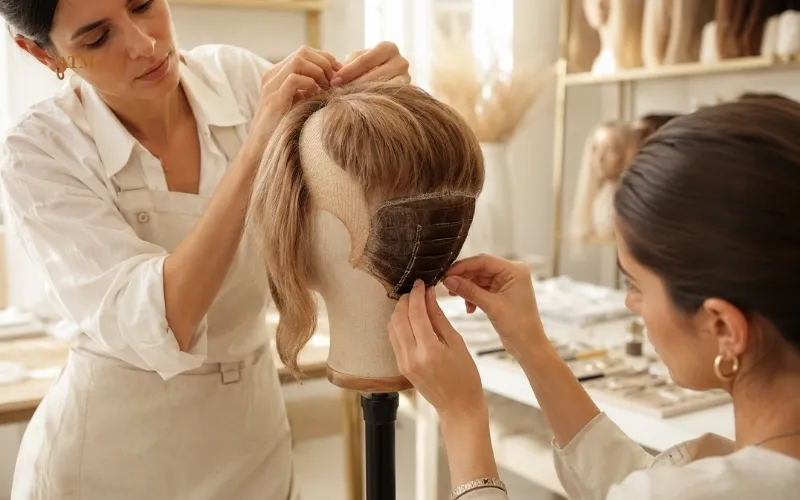
Step 7: Cut, style and finish
Even when ventilation is done, the wig still needs to be finished. The stylist evaluates the general shape, cuts off ends that aren’t even, adds layers and shapes the hair around the face.
With real hair wigs, finishing can be everything. The best hair has to be cut perfectly to fall perfectly and appear good from all angles.
During hand knotting, small return hairs may be visible surrounding the knots near the base. If left unchecked they might cause flyaways, roughness or a messy surface.
During finishing, these tiny hairs are checked and handled so that the inside of the cap feels smoother and the exterior surface looks cleaner.
You can also brush, shake or style the wig softly to check movement and fall. Before the final examination any uneven density, uncomfortable movement or unfinished form can be addressed.
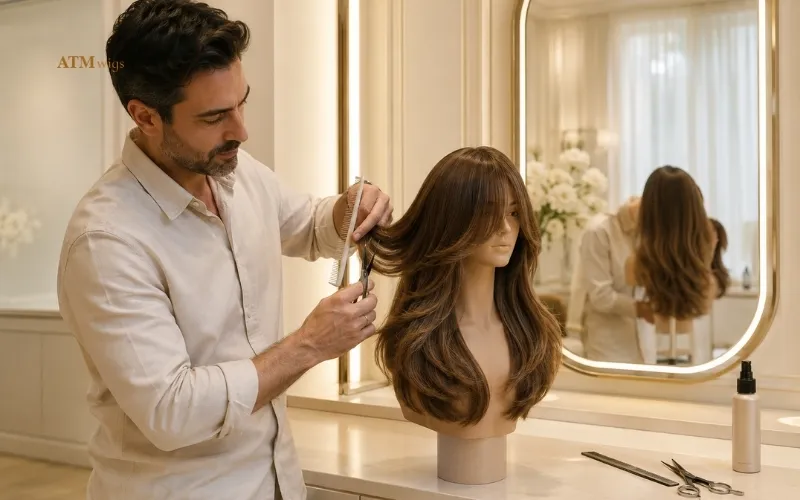
Step 8: Final inspection and quality control
Hand tied wigs are precise manual effort, thus quality is very important. Even tiny faults might impair comfort, appearance or longevity.
Final evaluation looks at knot security, density balance, hair direction, cap shape, smoothness of hairline, realism of parting, return hair control and overall finish.
Salons, merchants and professional wig buyers above all need consistency. A hand tied wig should not only look nice the first time, it should be repeatable from style to style, batch to batch.
Quality control could be cap size accuracy, uniformity in density, knot durability, color uniformity, length control of finish and hairline consistency.
Poorly made hand tied wigs may show visible knots, thick hairlines, uneven density, excessive shedding, rough cap feel, poor hair direction, or thin areas caused by inconsistent knotting.

Why the making process affects the final wig
Every production detail affects the final wig. If the ventilation map is unclear, density may look uneven. If knot tension is wrong, the wig may shed or feel rough.
If too many hairs are tied into visible areas, the hairline may look heavy. If hair direction is poorly controlled, the wig may not fall naturally. If return hairs are not managed, the finish may look less clean.
A premium hand tied wig is not defined by one attribute. It comes down to how hat structure, hair selection, breathability, knotting, finishing and quality control combine to deliver a clean, wearable, natural look.

Hand knotted wigs versus machine manufactured wigs – How the process is different
Most machine-made wigs are manufactured by sewing hair into rows of wefts. This leads to faster and cheaper production.
Hand-tied wigs are constructed differently. The hair is tied one by one into the cap, which makes the strands move more freely and in a more natural direction.
Both constructions have their benefits, but the hand tied wig is generally chosen when comfort, realism and natural movement are the top priorities.

FAQs about How are hand tied wigs made?
Are hand tied wigs made completely by hand?
Some hand tied wigs are fully hand tied, while others are partially hand tied. A fully hand tied wig has hair manually knotted across the entire cap. A partially hand tied wig may only use hand-tied sections in areas such as the hairline, top, or parting area.
What is ventilation of a wig?
Wig ventilation is when hair is tied into a wig cap by hand using a ventilating needle. It is the main way to make monofilament parts, lace fronts and hand tied wigs.
How many hairs are knotted in each knot?
It depends on the area of the wig. For durability, greater knotting may be used on the back or neck of the head, but the hairline and parting area sometimes uses one hair or very small groups for a softer appearance.
Is a lace front wig made the same way as a hand tied wig?
Not always. “Lace front” describes the lace material used at the front hairline, while “hand tied” describes how the hair isattached to the cap. A lace front wig may include hand-tied hair at the front, but the rest of the cap may use anotherconstruction method.
Understanding how hand tied wigs are made shows why every strand, knot, and cap detail matters. Explore ATM Wigs’ human hair wig catalog for professionally crafted wigs designed for natural-looking results.